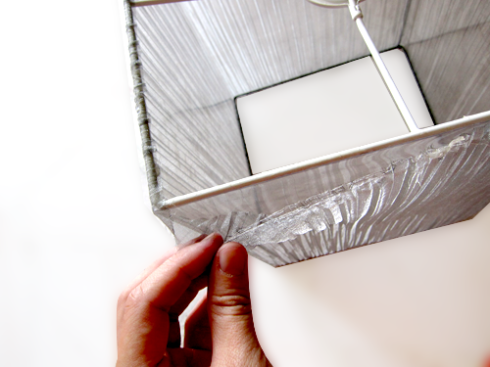
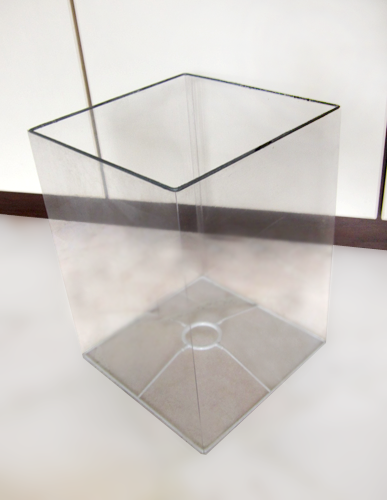
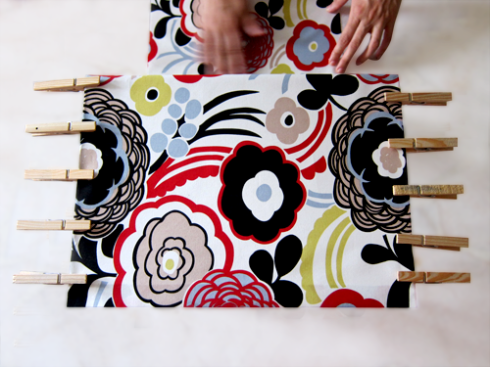
My friend commissioned me to restore her lampshade. She loves the Alexander Henry Mocca fabric and wanted to replace her current ceiling grey lampshade. I’m so happy I got a chance to work on this. It’s really fun! What is great is that we were able to restore an existing lampshade instead of simply throwing this one away and buying a new one. I’m glad we managed to reduce ‘stuff’ by recycling. So green… I like.
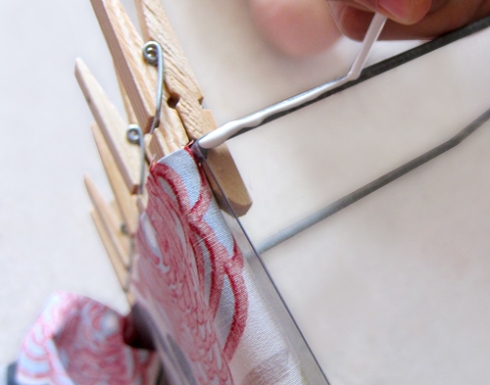
There was alot of stretching and pulling involved because we were also trying to preserve the plastic sheet around the lampshade. It was a good thing that sis was around to help me. I wouldn’t be able to pull it off alone.
Try it if you have been thinking of replacing that tired-looking lampshade at home!
Time taken: 2hours (waiting time included)

Removing the original fabric and cleaning everything. You won't believe how much dust can gather on a lampshade!


11 comments
Comments feed for this article
August 1, 2011 at 11:40 pm
Jessica Farris
Hi there!
I’m one of the Editors at AllFreeSewing.com and I just wanted to let you know that I have linked to your project on our site. You can see the project here: http://www.allfreesewing.com/Home-Dec-Sewing/Restoring-a-Lampshade. I think it’s a great project that our readers will just love to make! This will easily bring traffic to your site and allow others to see what’s new on your site.
We’re hoping by reaching out we’ll hear from you. With that said, may we have permission to link to any project on your site as well as use the image — with credit to you, of course?
Thanks!
August 2, 2011 at 10:48 am
chicabee66
Hi Jessica! Thanks for your note. Do feel free! And yes, credits will be nice. 🙂
Cheers!
Chin
August 9, 2011 at 9:07 pm
Kimberly
I love this shade! Wish I had a square one to do this with.
August 9, 2011 at 10:37 pm
chicabee66
Thanks Kimberly! I really love it too.
August 9, 2011 at 11:46 pm
MargaretW
You don’t show/explain how you finished off the cut edges of the long piece of fabric. Did you overlap, turn under, glue??? Also, how did you apply the fabric tape to the rim? Did you glue to the sides and flip over to the the inside? You mentioned you had to stretch and pull – what were you stretching and pulling?
August 10, 2011 at 12:16 am
chicabee66
Hi Margaret!
Thanks for your comment. The cut edges of the long piece of fabric were left uncut and glued on the rim edges. I then used a fabric adhesive tape (sticky on one side only) to conceal the uncut edges; from exterior edges and flipping over to the inside. As I was using the original plastic sheet on the lampshade frame, which has no adhesive sides (usually I would use an adhesive polypropylene sheet), the stretching and pulling of the long piece of fabric was to ensure that the fabric turns out flat and stretched with no creases. Hope this answer your questions!
November 8, 2011 at 7:51 pm
Linda Malley
Hi,
Have you done any other shape lampshade? I have one that is rectangular, with the bottom wider than the top. The sides slope out down to the bottom. I want to tackle this, but it just seems so much harder than one with straight sides. Any suggestions? Thanks.
Linda
November 11, 2011 at 8:16 am
chicabee66
Hi Linda
Thanks for dropping by! I have so far only done a cylindrical one and a straight rectangular one. But for what you are asking, I would do it this way… Cut 4 separate panels instead of one single piece that goes round the frame. This means that the fabric you choose is best to be one that is more abstract so that the pattern flow doesn’t look disrupted. Then I would use grosgrain ribbon or cut strips of fabrics to cover up the joint areas. Does this help?
🙂 Chin
January 12, 2012 at 12:40 pm
Kay Day
What a great project! I have two lampshades with plastic inserts on the inside that are cracked and broken. I would like to replace the plastic with the adhesive polypropylene sheets you mentioned. Where can they be purchased? I live in rural Iowa, and my guess is I’ll have to purchase the polypropylene sheets online.
January 14, 2012 at 10:54 pm
chicabee66
Hi!
Thanks for dropping by! I got my adhesive propylene sheets online at http://www.lampshop.com/
However in this project, I didn’t use any. I asked my sis to help so we had 2 pairs of hands pulling and stretching the fabric so the fabric is smooth.
Yea don’t throw them out…! 🙂 have fun!
Cheers!
Chin
July 5, 2012 at 3:48 pm
Valerie
Great idea, will be trying this!